Installing Arduino IDE on Windows
Installing Arduino IDE on Windows
What is Arduino IDE?
The Arduino IDE (Integrated Development Environment) is the software used to write, compile, and upload code to your Arduino board.
System Requirements
Before installing, ensure your system meets these requirements:
- Windows 10 or Windows 11
- At least 500MB free disk space
- USB port for Arduino connection
Installation Steps
Step 1: Download Arduino IDE
1. Open your web browser 2. Go to: https://www.arduino.cc/en/software 3. Click on Windows Installer (not Windows ZIP) 4. The download will start automatically
Step 2: Run the Installer
1. Locate the downloaded file (usually in Downloads folder) 2. Double-click to run the installer 3. Click Yes if User Account Control appears 4. Click I Agree to accept the license 5. Choose installation options: - Install Arduino software - Install USB drivers 6. Click Next and then Install 7. Wait for installation to complete
Step 3: Complete Installation
1. When finished, click Close 2. The Arduino IDE icon should appear on your desktop
Connecting Your Arduino
Step 1: Connect the Board
1. Connect Arduino Uno to your computer using USB cable 2. The power LED on Arduino should light up 3. Windows will attempt to install drivers
Step 2: Select Your Board
1. Open Arduino IDE 2. Go to Tools > Board > Arduino AVR Boards 3. Select Arduino Uno
Step 3: Select the Port
1. Go to Tools > Port 2. You should see a COM port (e.g., COM3 or COM4) 3. Select the COM port with Arduino
Step 4: Verify Connection
1. Go to File > Examples > 01.Basics > Blink 2. Click the Upload button (arrow icon) 3. Wait for "Done uploading" message 4. The built-in LED should blink
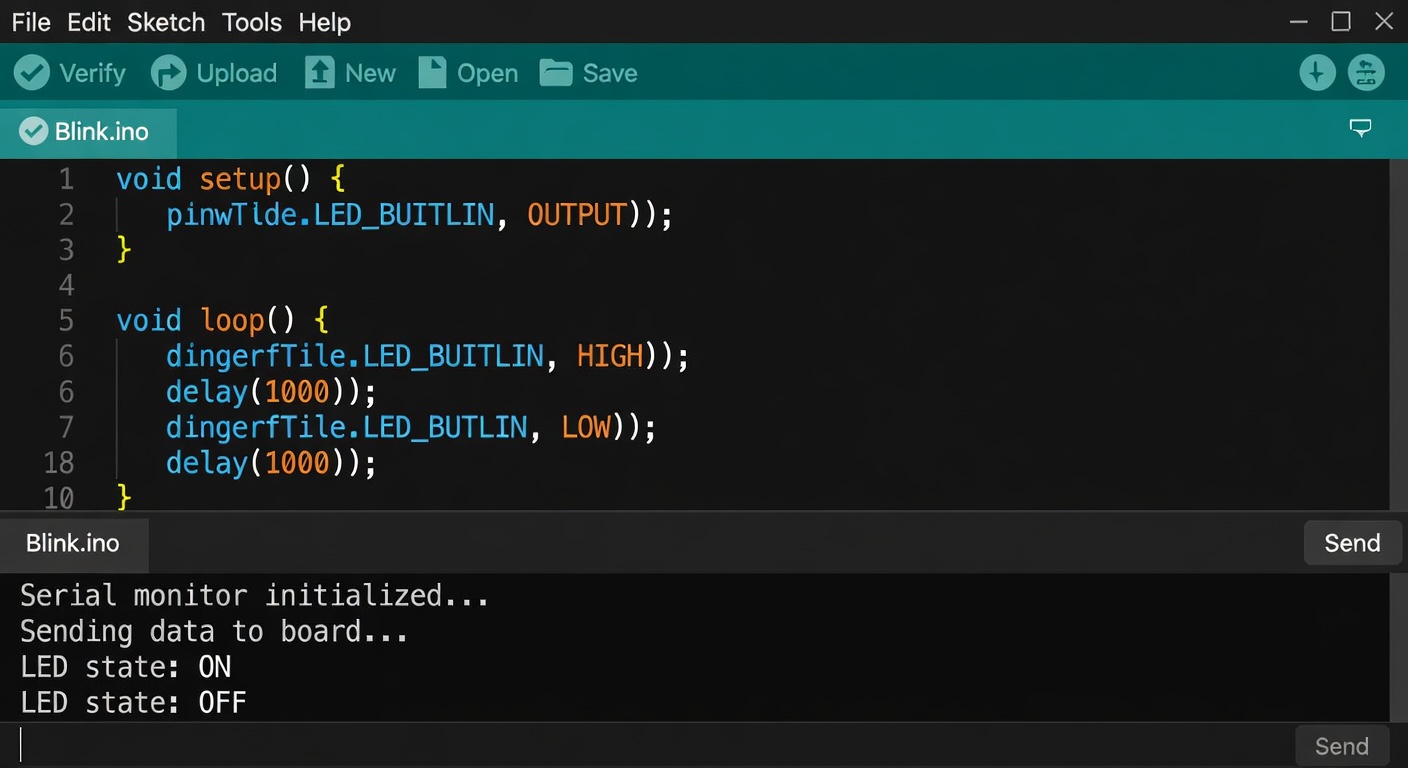
Arduino IDE Interface
Key Areas
| Area | Function |
|---|---|
| Menu Bar | File, Edit, Sketch, Tools, Help |
| Toolbar | Verify, Upload, New, Open, Save |
| Code Editor | Where you write your sketch |
| Status Bar | Compilation and upload messages |
| Serial Monitor | View serial output |
Important Buttons
- Verify (checkmark) - Checks code for errors
- Upload (arrow) - Sends code to Arduino
- Serial Monitor - View data from Arduino
Troubleshooting
Problem: Board Not Selected
- Go to Tools > Board and select Arduino Uno
Problem: Port Grayed Out
- Check USB cable connection
- Try a different USB port
- Install USB drivers manually
Problem: Upload Failed
- Verify correct board and port selected
- Check USB connection
- Press reset button on Arduino and try again
Problem: driver Installation Failed
- Download drivers from: https://github.com/arduino/Arduino/wiki/Windows-Drivers
Summary
Installing Arduino IDE is straightforward: 1. Download from arduino.cc 2. Run the installer 3. Connect your Arduino 4. Select board and port 5. Upload your first sketch
The Arduino IDE provides everything you need to start programming!
Next Lesson
In the next lesson, you'll write and upload your first sketch - making an LED blink.
Quiz - Quiz - Installing Arduino IDE
1. Where can you download the Arduino IDE?
2. What should you select from Tools > Board menu?
3. What does the Upload button do?
4. What is the maximum voltage for the barrel jack power input?